

Step 1: Preprocess the Pre-trained Model
Before applying TensorSpace to visualize the pre-trained model, there is an important pipeline -
TensorSpace model preprocessing ( Checkout Preprocessing Introduction for more
information about TensorSpace preprocessing ). We can use TensorSpace
Converter to quickly complete the TensorSpace Preprocessing.
For example, if we have a tf.keras
model in hand, we can use the following TensorSpace-Converter conversion script to convert a tf.keras model
to the TensorSpace compatible format:
$ tensorspacejs_converter \
  --input_model_from="tensorflow" \
  --input_model_format="tf_keras" \
  --output_layer_names="padding_1,conv_1,maxpool_1,conv_2,maxpool_2,dense_1,dense_2,softmax" \
  ./PATH/TO/MODEL/tf_keras_model.h5 \
./PATH/TO/SAVE/DIRwb_sunnyNote:
- filter_center_focus Make sure to install tensorspacejs pip package, and setup a TensorSpace-Converter runtime environment before using TensorSpace-Converter to preprocess the pre-trained model.
- filter_center_focus Based on different training libraries, we provide different preprocessing tutorials: TensorFlow Tutorial, Keras Tutorial, TensorFlow.js Tutorial.
- filter_center_focus Checkout TensorSpace-Converter for more information about TensorSpace-Converter.
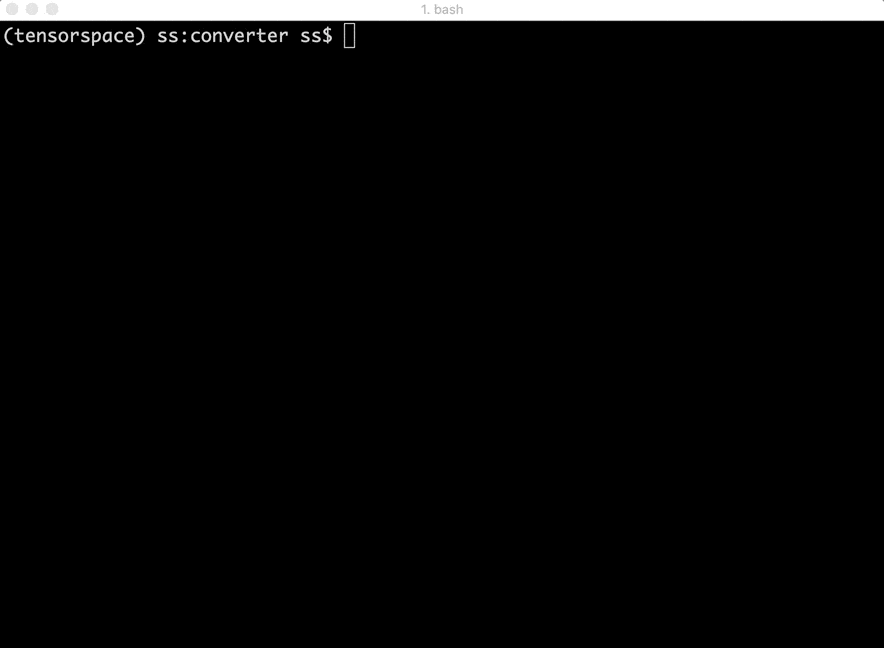
Fig. 1 - TensorSpace-Converter Usage
Step 2: Using TensorSpace to Visualize the Model
After installing TensorSpace in appropriate
environment successfully, let's create our first interactive 3D TensorSpace model!
For the convenience, we will use the the resources from this repository's
HelloWorld
directory, which includes
preprocessed TensorSpace compatible LeNet model
and
sample input data ("5")
. All source code can be found from
helloworld.html
.
First, we need to new a TensorSpace model instance:
let container = document.getElementById( "container" );
let model = new TSP.models.Sequential( container );
Next, based on the LeNet structure: Input + Padding2D + 2 * (Conv2D & Maxpooling) + 3 * (Dense),
we build the structure of the model:
model.add( new TSP.layers.GreyscaleInput() );
model.add( new TSP.layers.Padding2d() );
model.add( new TSP.layers.Conv2d() );
model.add( new TSP.layers.Pooling2d() );
model.add( new TSP.layers.Conv2d() );
model.add( new TSP.layers.Pooling2d() );
model.add( new TSP.layers.Dense() );
model.add( new TSP.layers.Dense() );
model.add( new TSP.layers.Output1d({
    outputs: ["0", "1", "2", "3", "4", "5", "6", "7", "8", "9"]
}) );
Last, we can load our preprocessed
TensorSpace compatible model
and use init() method to create the model:
model.load({
    type: "tensorflow",
    url: './PATH/TO/MODEL/model.json'
});
model.init(function() {
    console.log("Hello World from TensorSpace"!);
});
We can get the following model in the browser:
Fig. 2 - LeNet model without any input data
We provide a extracted
file
which is a handwritten "5" as the input of our model:
model.init(function() {
    model.predict( image_5 );
});
We put the predict( image_5 ) method in the callback function of
init() to ensure the prediction is after the initialization complete.
If everything goes well, the model will display in your browser like this online
demo.
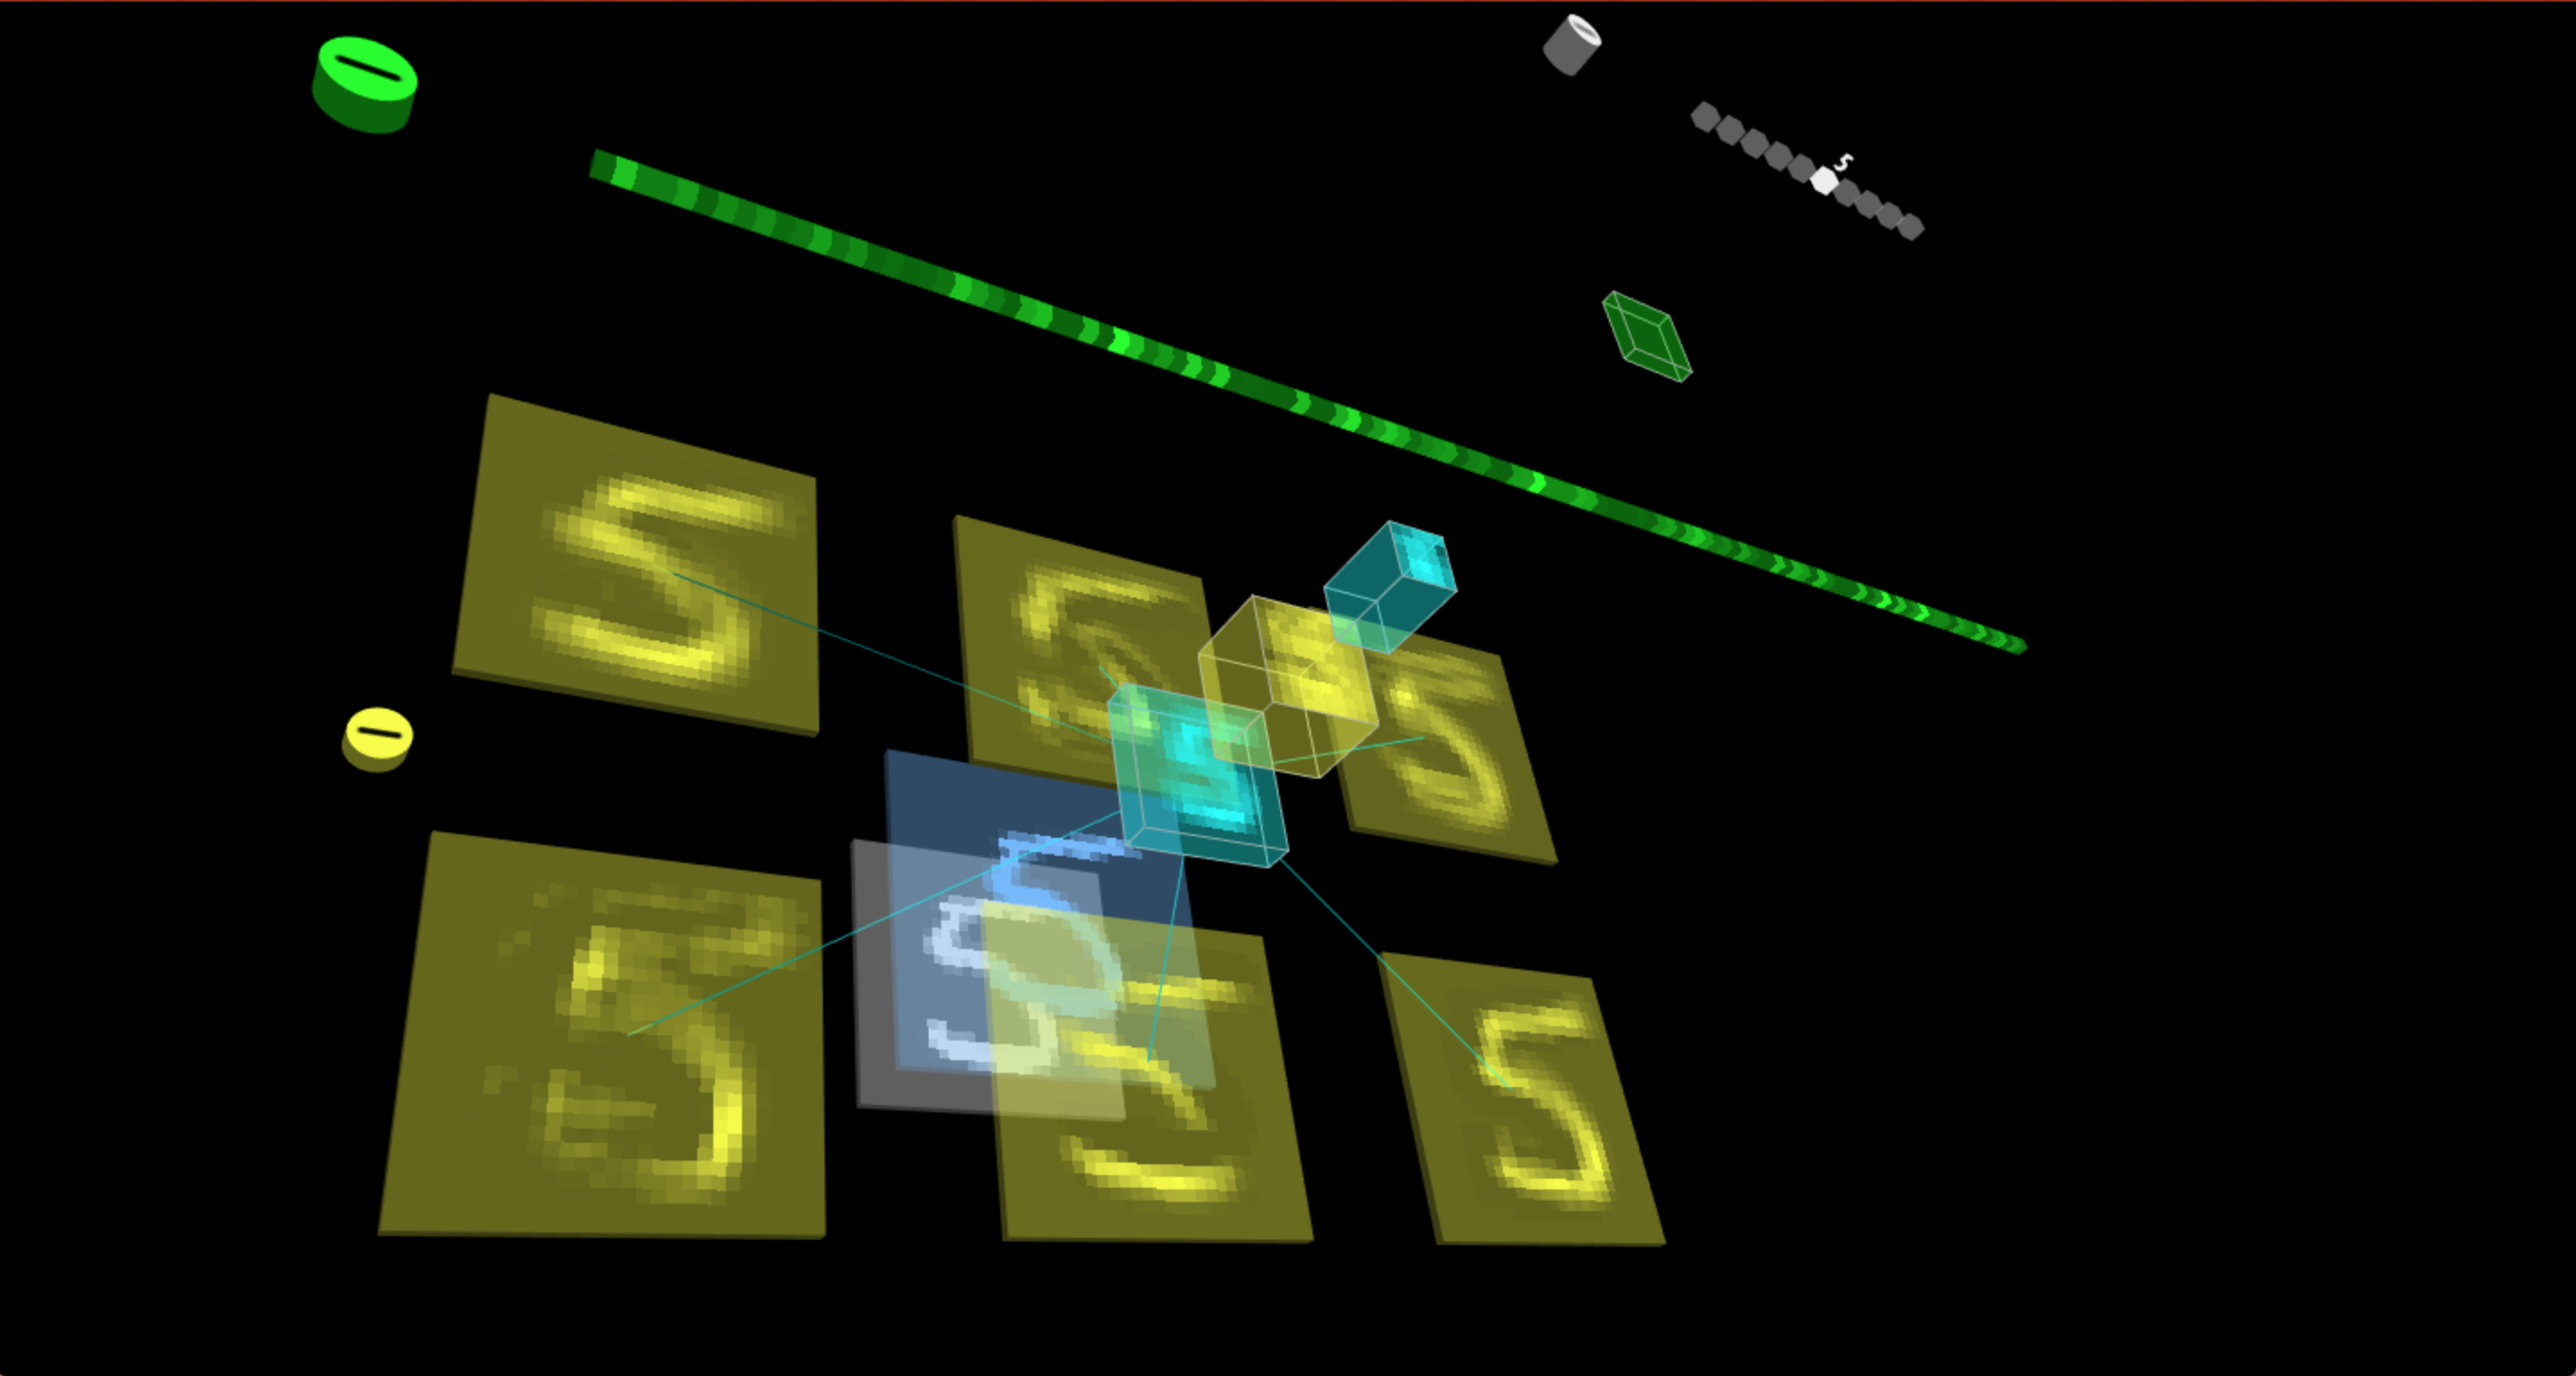
Fig. 3 - LeNet model with input data "5"
Say Hello World to TensorSpace in CodePen!
See the Pen 667a7943b0f23727790ca38c93389689 by syt123450 (@syt123450) on CodePen.